Throughout history, people have been inventing new tools, or improving existing ones, in order to do something better or more easily.
We are going to look at some historic examples of this, then you will have the opportunity to try designing your own tool! A person who designs or creates something new is called an inventor. Inventors often have a lot of ingenuity and imagination. Ingenuity just means “The quality of being clever, original, and inventive.” In other words, inventors are full of creative ideas!
The most classic example of an invention is the wheel. It seems so simple, but before someone figured it out, there were no vehicles, no carts, no wheelbarrows or anything else like that. Below are some examples of ways people have improved existing tools to do their intended job better.
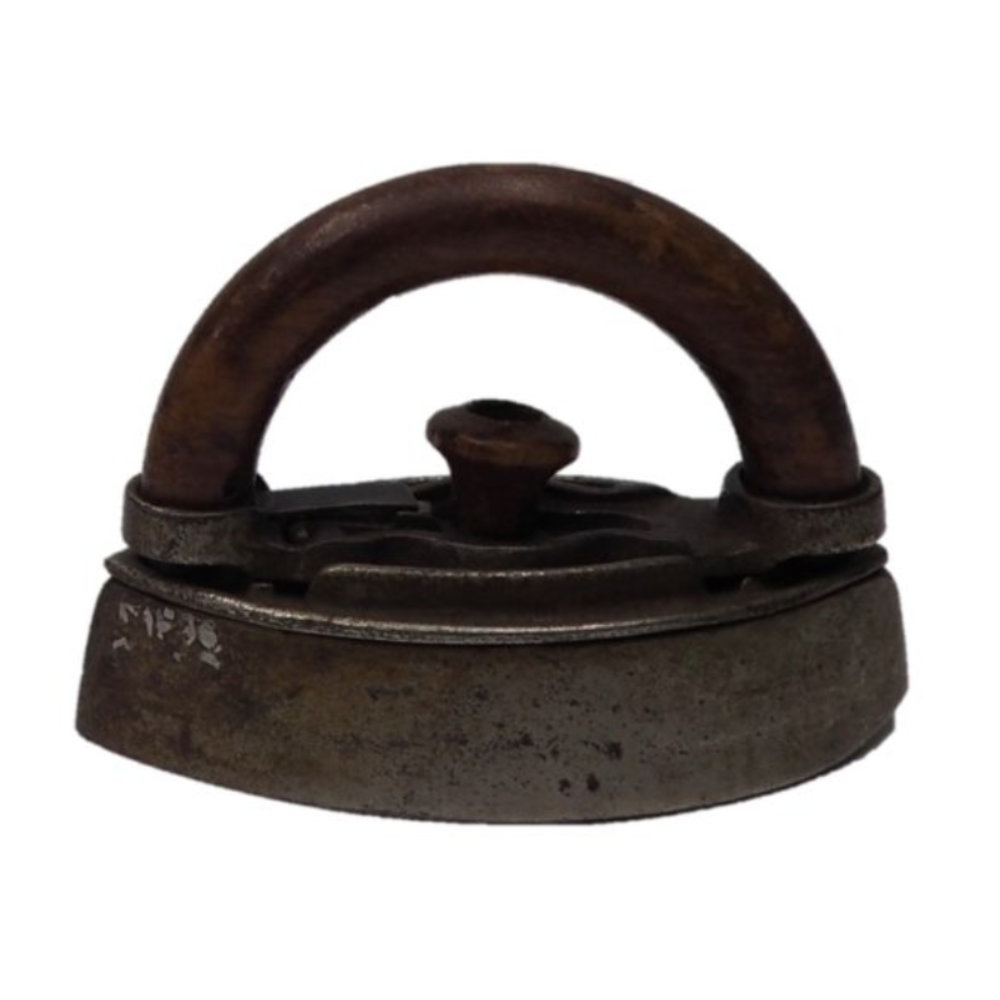
Irons
These irons come from a time before electricity, so they had to be heated by putting them into a fireplace or on top of a stove. For the one of the left, this would mean the handle gets really hot also. To avoid this problem, the handle on the one in the middle comes off, as shown on the right.
Iron 1
Iron 2
Iron 3
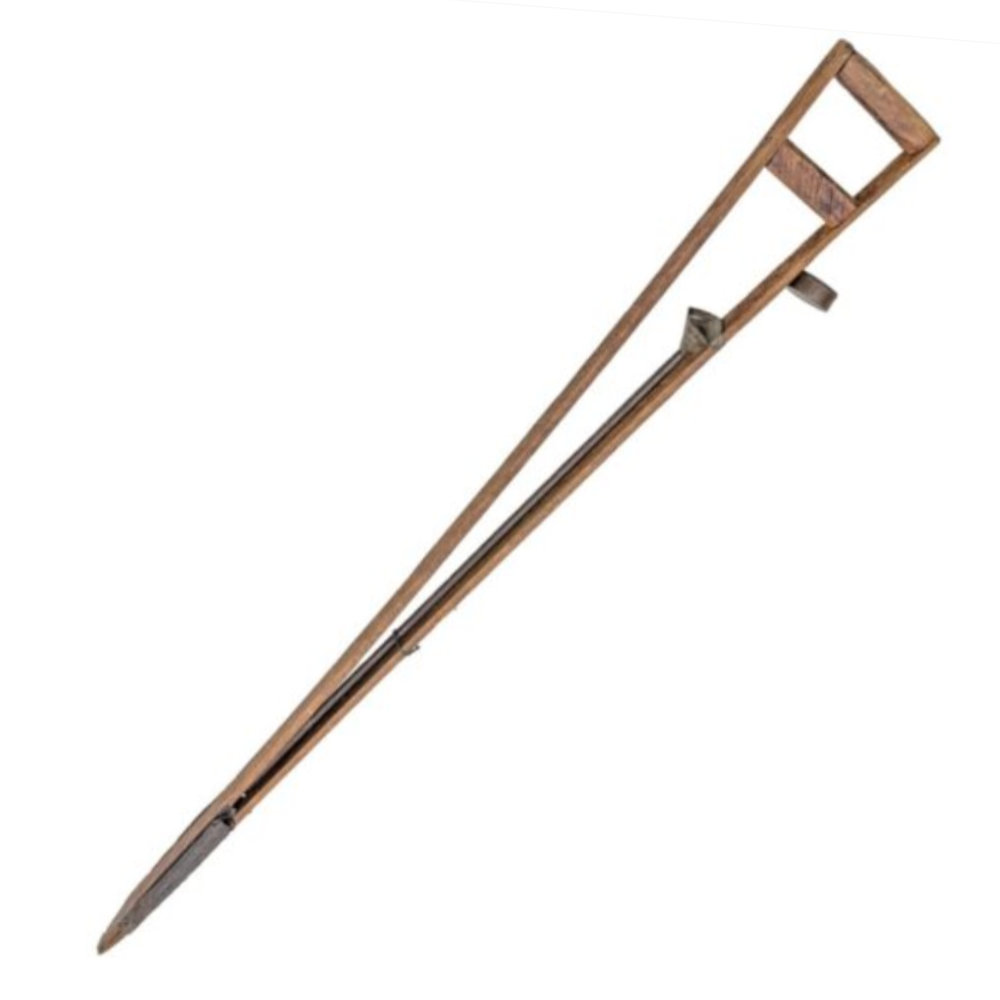
Seed Drill or Seed Planter
Farmers planting crops need to make holes in the dirt for the seeds to go into. The tool on the left was used for this purpose, but the person using it had to crouch down for each hole (the tool is only about one foot long). The tool on the right was a significant improvement on this because it allowed the planter to stand upright the entire time. It comes up to about armpit level on an average adult, so they could make the hole with the bottom part, then drop the seeds down the long tube.
Seed Drill
Long Seed Drill
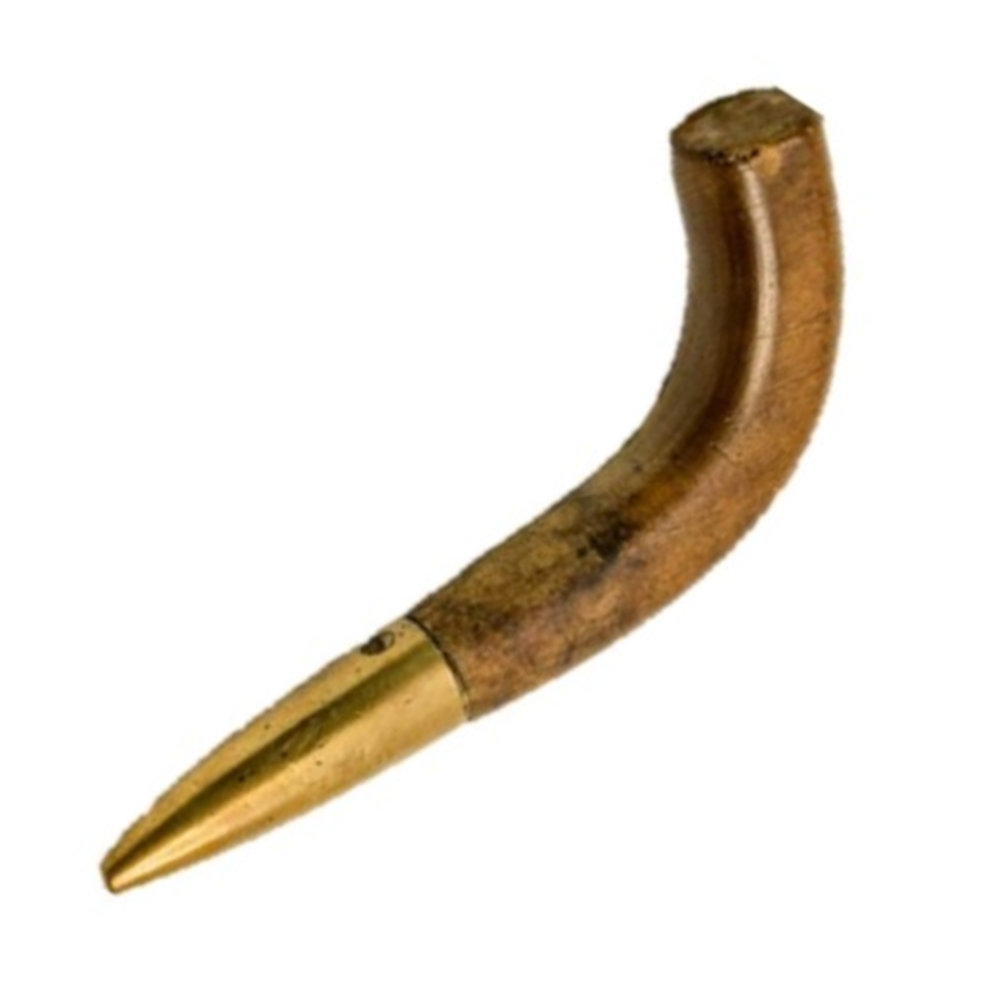
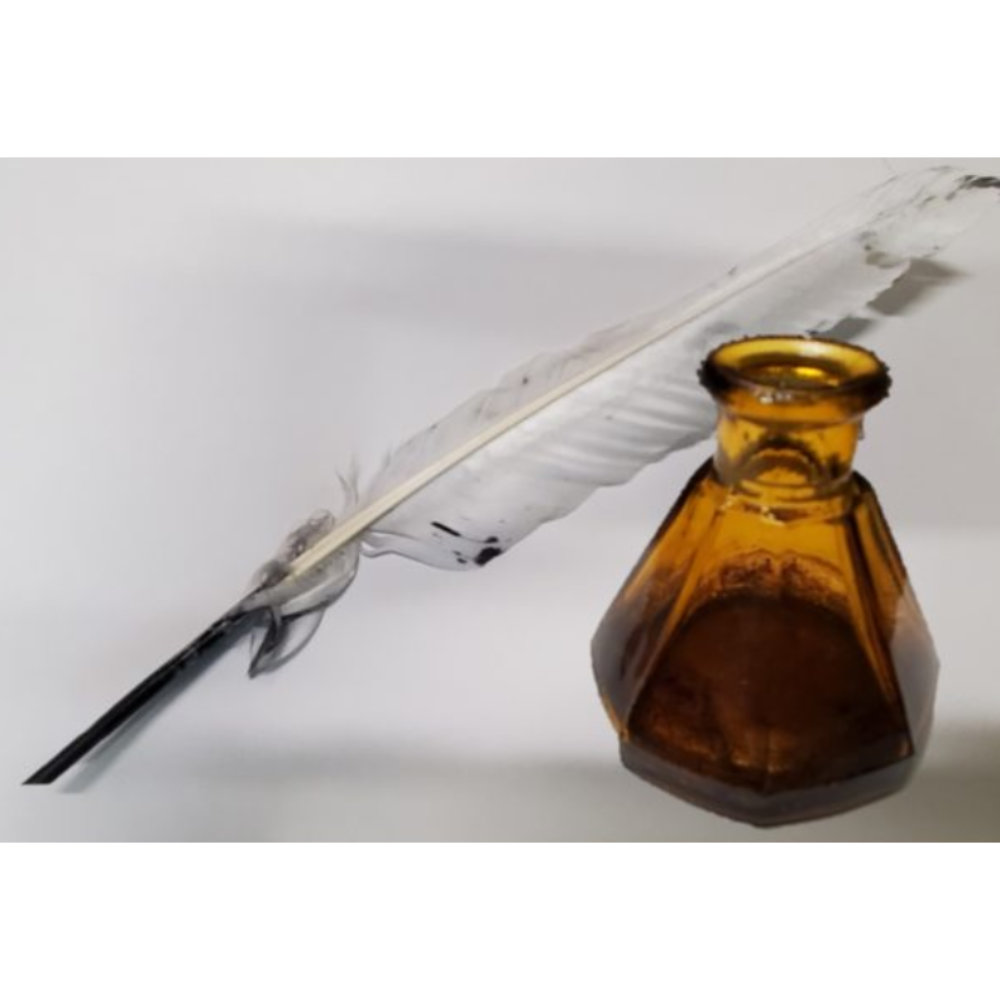
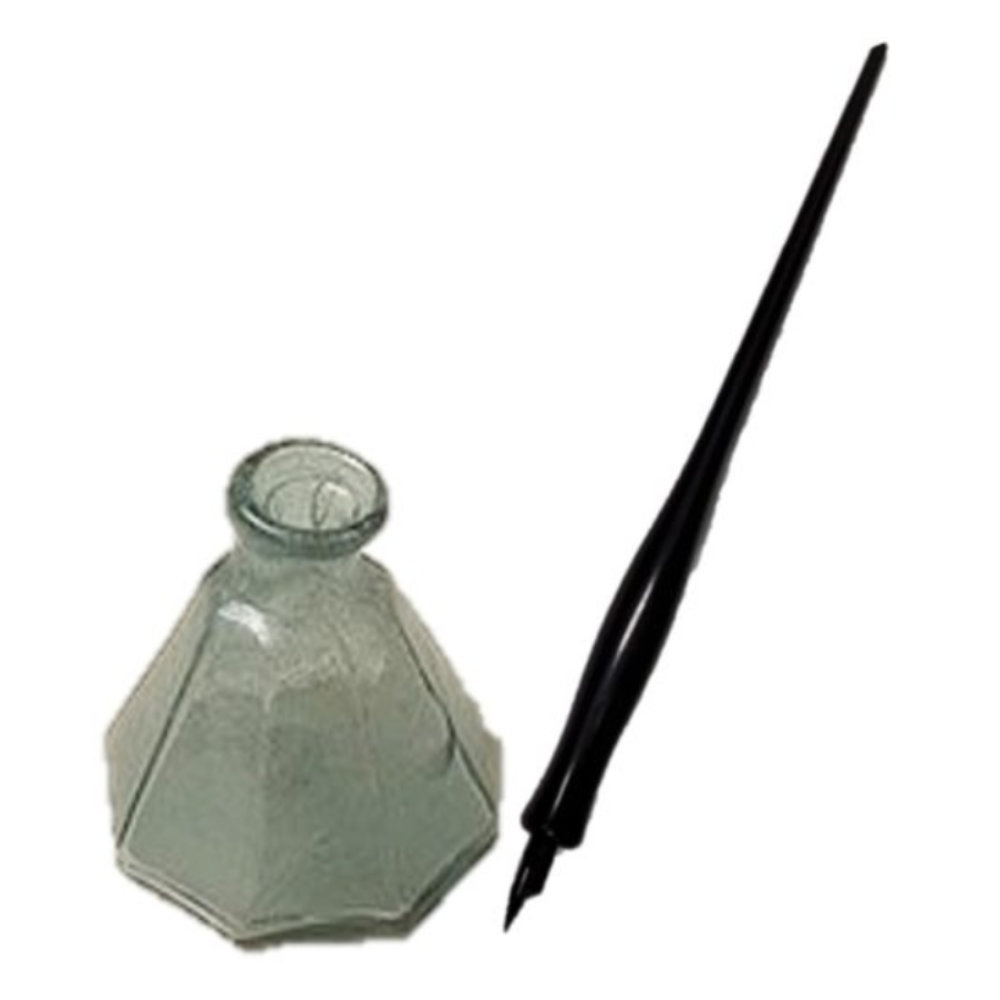
Pens
For thousands of years, people wrote with quill pens, made from bird feathers (on the left). Then, someone invented a dip pen (middle). Dip pens still needed to be dipped into ink like the quill, and the ink still needed to dry, but dip pens were stronger, more consistent and easier to use. It was still not easy to use, though, and eventually someone developed our modern pens (right), with ink already in them that is dry when it hits the page.
Quill, Inkwell
Pen, Inkwell
Ballpoint Pen
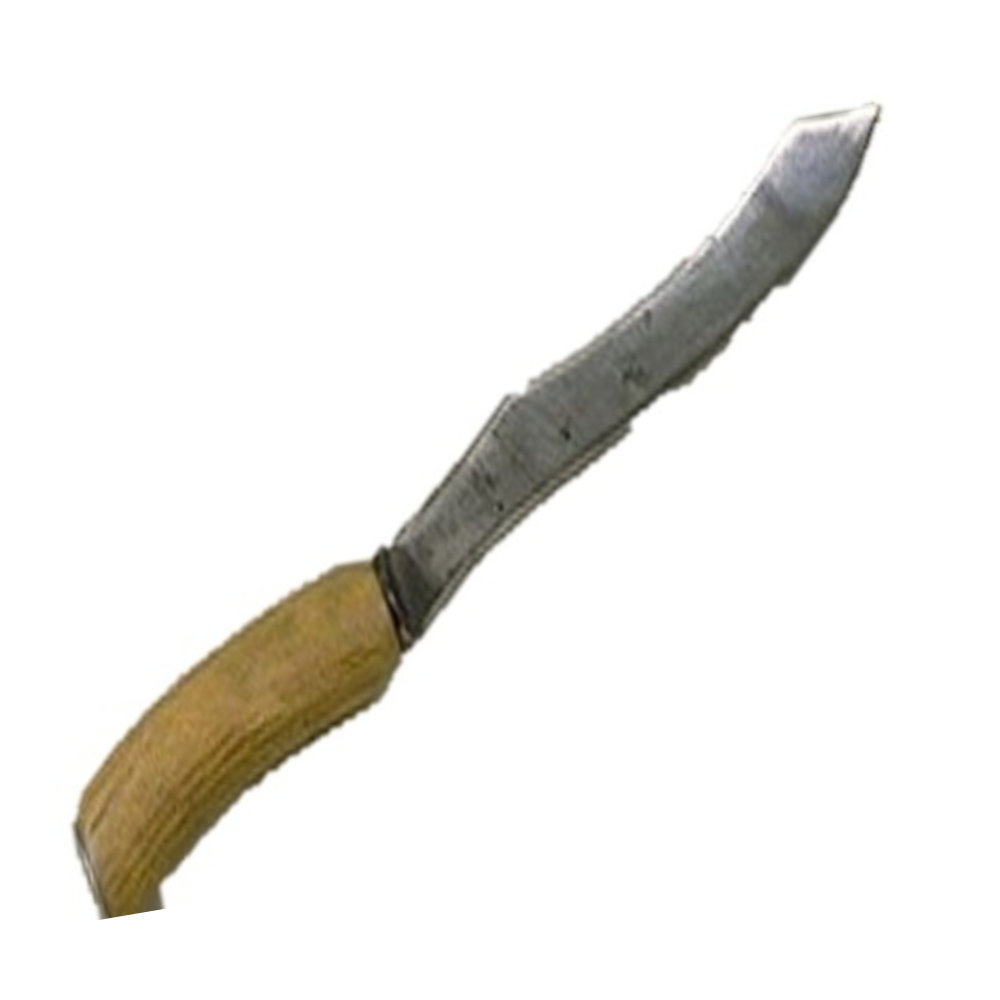
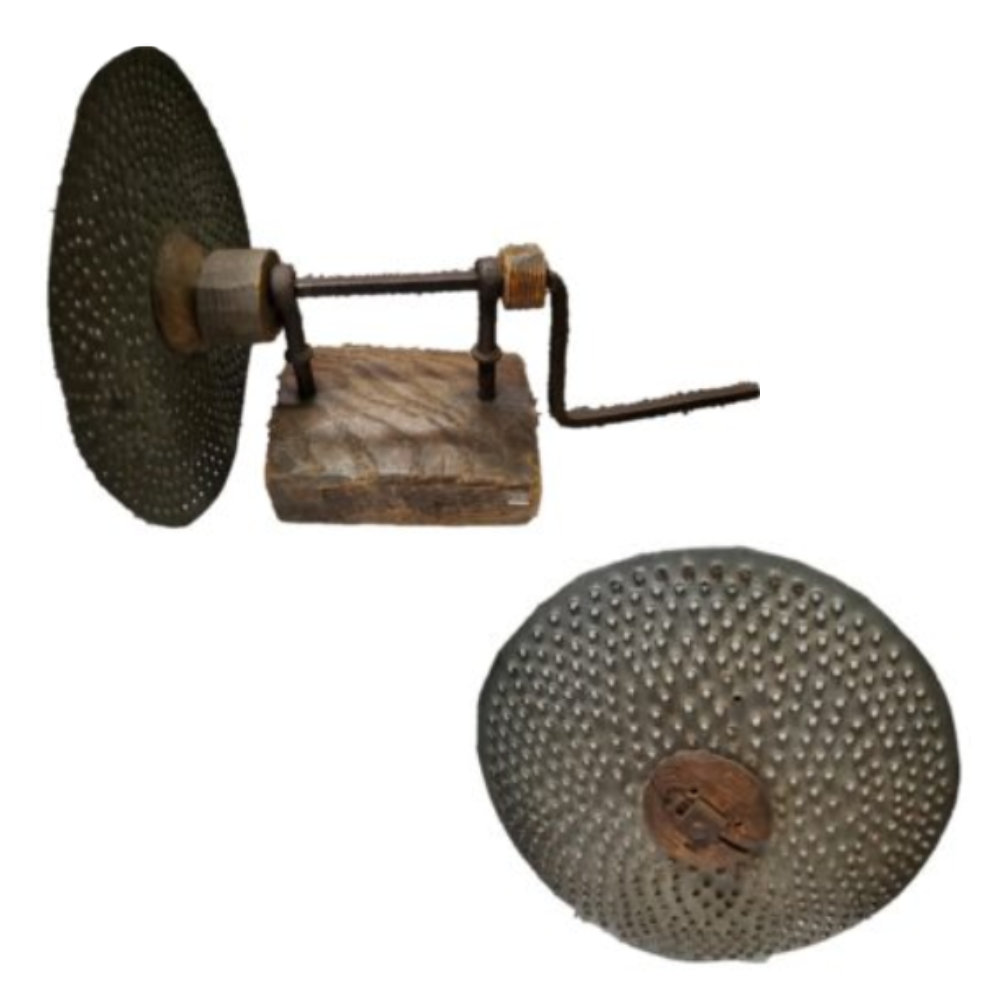
Grater
Before there were graters, if you wanted small pieces of cheese you had to cut it with a knife, maybe like the one on the left. The grater in the middle was specially designed for how cheese is usually made: in big round blocks (between the 2 graters). You also might need to grate something else, like carrots, so people developed graters for different purposes, like the one on the right.
Cheese
Small Knife
Food Grater 1
Food Grater 2
Now that you have seen some of the ways
inventors in the past have created new tools, or improved existing
tools, it is your turn!
Step 1: Design Your Tool
When an inventor gets an idea for a new tool, or a way to make one better, they first draw their design to plan out what the tool will look like, how it will work and so on.
To help you do this, use the “Tool Design Worksheet.” If you aren’t able to print this document, just do the same things on another piece of paper.
Start by explaining what your tool will do. This should include what problem it will solve, or what job it will make easier. Then, draw what it will look like. You may want to do different drawings showing different angles of the tool, or different parts of the tool.
These are just rough sketches, so you know what you are going for – don’t worry about whether they look really good or not!
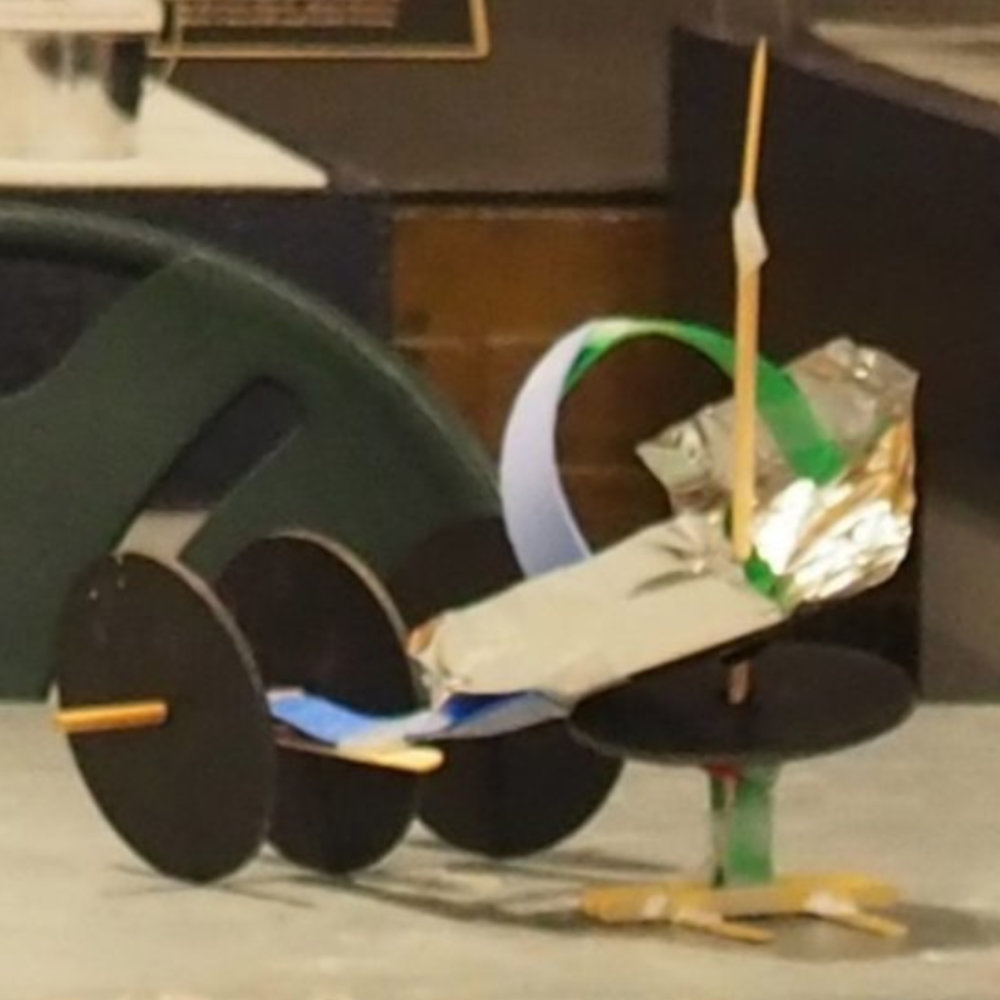
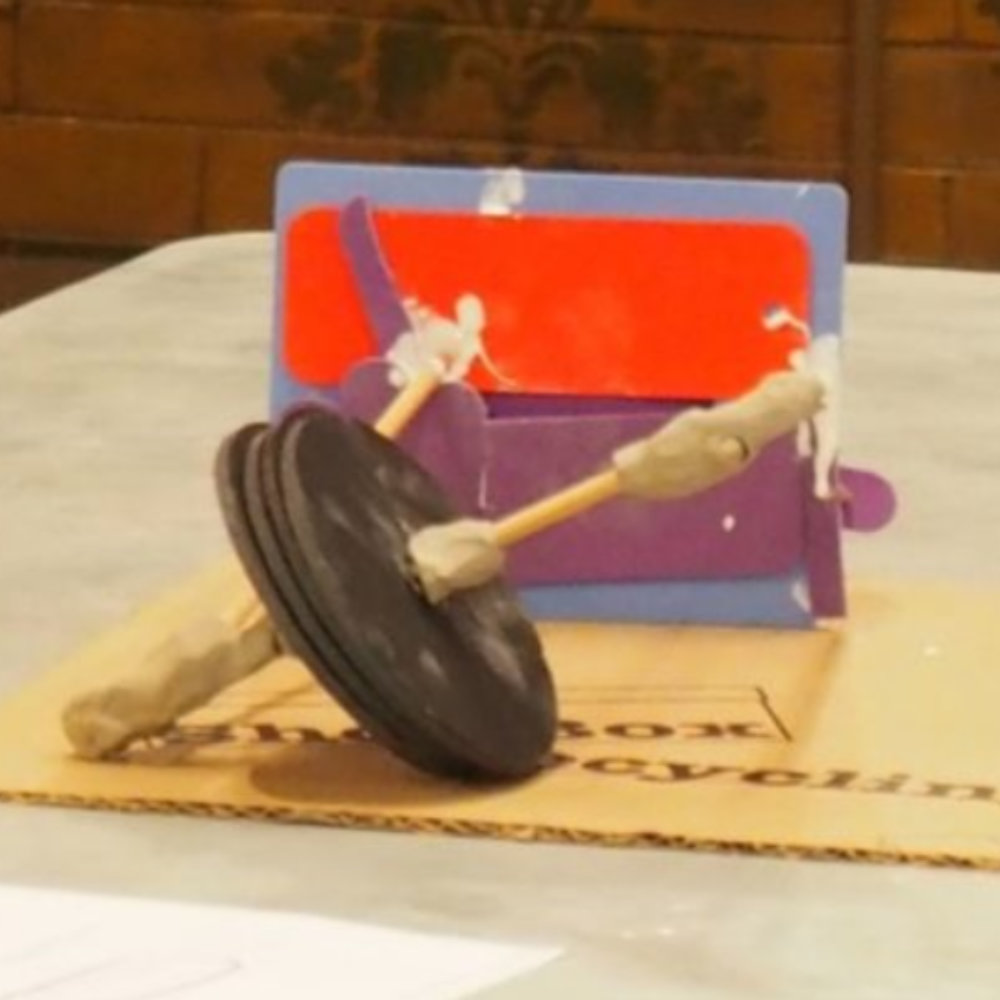
Step 2: Make a Prototype
Next, an inventor makes a prototype. A prototype is a model of the full tool. It is often smaller than the full tool will be. More importantly, it usually is made of simpler materials than the final version will use. This way, if it doesn’t work, the inventor hasn’t wasted a lot of time and valuable resources, or supplies, on this stage.
See these examples of what your prototype might look like.
Once an inventor makes a prototype, the next step is to see if it works. This is experimentation. If it doesn’t work, then the inventor has to figure out why not. This might mean making changes to the prototype, or even to the original design.
An inventor keeps trying, going through the steps of design, prototype and experiment, until it works. Only then will they consider making the full tool.
You may eventually make a full-scale, or “real” version of the tool you design, but that isn’t the goal of this activity. The goal is to end up with a working prototype of a tool that either does something nothing else does, or that does a job better than an existing tool.
Supplies
The supplies you need will vary based on your specific design, but below are some basic materials you could use in making your prototype, if you have them. And if you don’t, use what you do have. Be creative! *Remember, you aren’t trying to make the actual tool, just a model of it!
Glue / scissors / tape (for putting your prototype together)
Cardboard (scraps in different sizes, shapes and thickness work great for many aspects of making a prototype)
Yarn or string
Pipe cleaners
Clay
Dowels, skewers and/or toothpicks (Different types of wooden sticks that you might have around your home)
Foam sheets
Craft sticks
Foil, both the light kind you probably have in your kitchen and thicker if you have it. You can always fold thin foil several times to make it thicker.
Buttons
Rocks and/or sticks from outside
Send us a picture of your finished prototype and let us know how the tool turned out by emailing [email protected] or tagging us on social media @metcnj!