The first thing you need to do is make a collection. What is a collection? A collection is “an accumulation of objects gathered for study, comparison, or exhibition or as a hobby.” Why do people collect things? From individuals to large museums, humans are massive collectors. It is how we express who we are, and also how we tell our stories, both past and present. Collecting also leaves something of us behind for the future.
You may already have a collection and not even realize it. This could be something that you have actively collected. For example: Rocks, shells, buttons. Even if you haven’t deliberately collected anything, look through your belongings and see if there are any themes or similarities. Do you have several different toys related to a similar movie or character? Or of a similar type? Do you have several things given to you by a family member from their childhood or earlier life?
Your collection doesn’t need a lot of objects: 10 is a good goal, but fewer than that is fine, too. In a museum, the person who takes care of the objects, picks which ones will go on display and writes the information about them is a curator. While doing this activity, you are a curator!
Part 2: Write about your collection
Once you have decided which items will be in your collection, it’s time to write some labels! Start by writing two or three sentences about the collection overall. How would you describe to someone who didn’t know you what these objects are and why they make up a collection? Is this a collection you have been building for a long time? Did you get all the items at the same time? Why are these objects important to you? This will be your Introduction Panel.
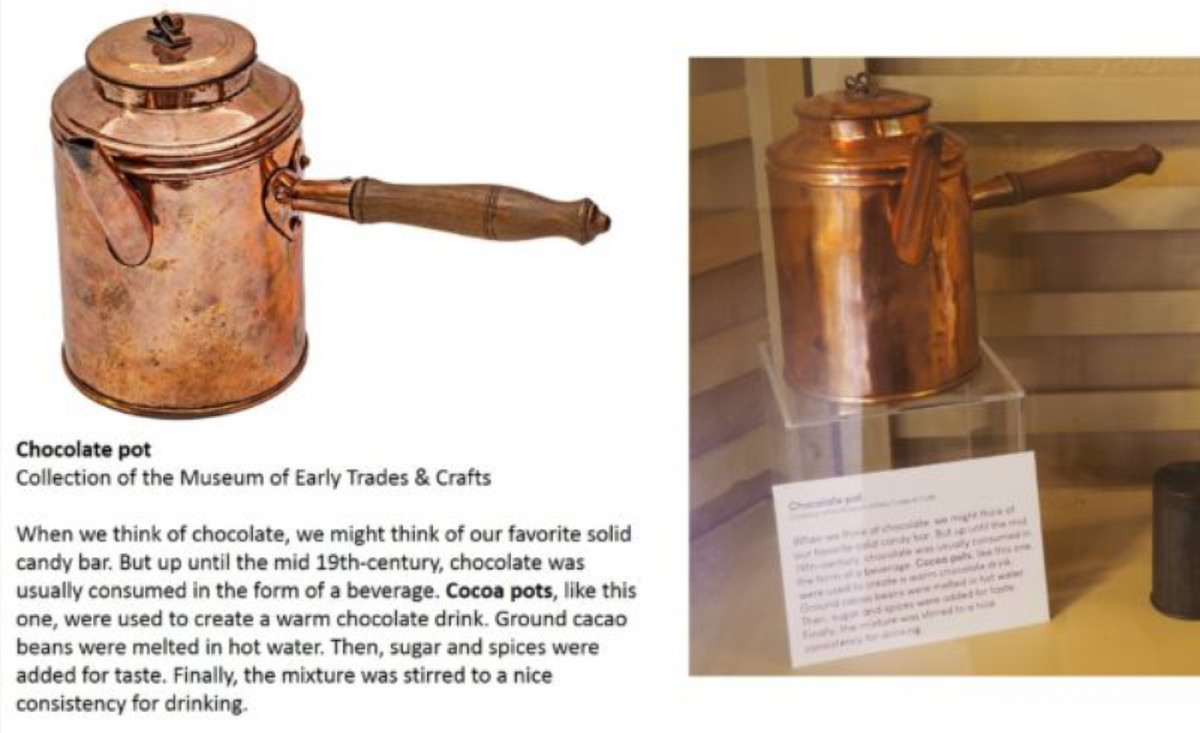
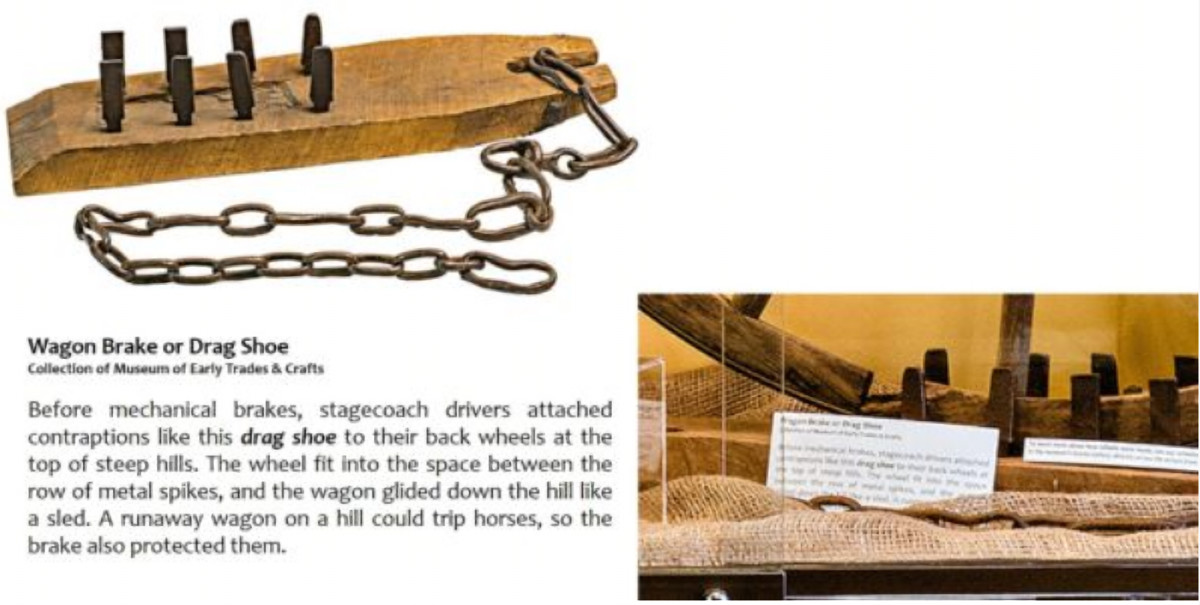
Next, write some labels for individual objects. You don’t have to write a label for every object if you don’t want to, but pick at least two or three to write a couple sentences about. What is it? Where did you get it? What makes it special? See these examples of real museum labels. Your labels will probably be shorter than these, but this is the type of information someone might include about an object. One is an “Introduction Panel” that introduces the exhibit overall. Notice that it has some images around the words. If you want, you could add drawings or other decoration to your Introduction Panel. The others are labels for specific objects.
What is an exhibit? An exhibit is just the museum word for a collection of objects displayed in a certain way, or around a certain theme, for visitors to see. You are working toward making an exhibit from your collection
Part 3: Create Some Art
You want to display your collection as nicely as possible, so you want to add some backdrops and other artistic elements to go along with it. You can do whatever kind of art that you want for this, but think about what might go well with your collection.
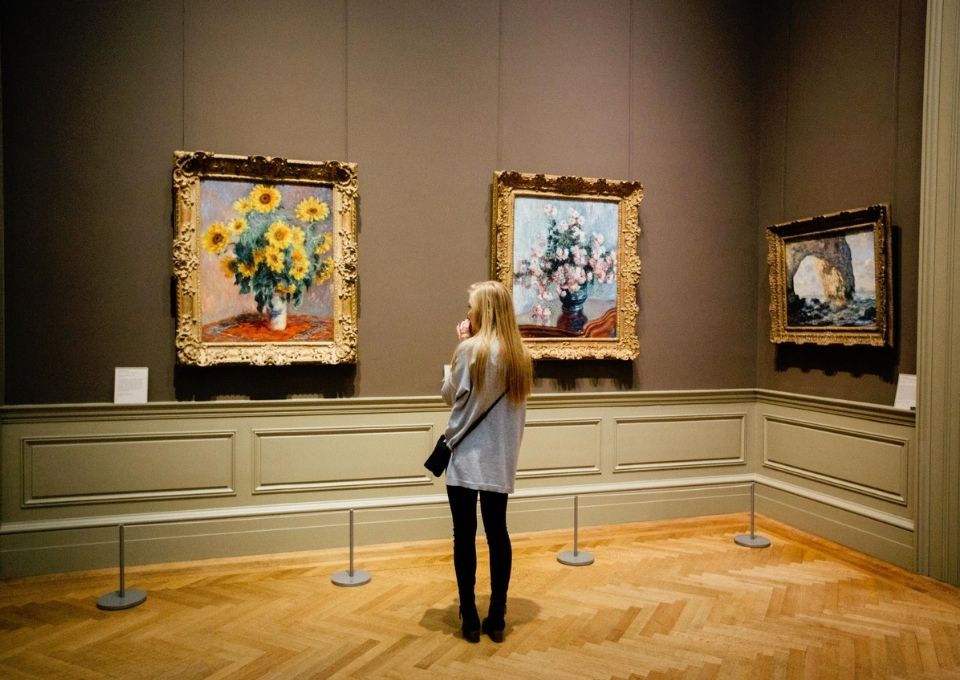
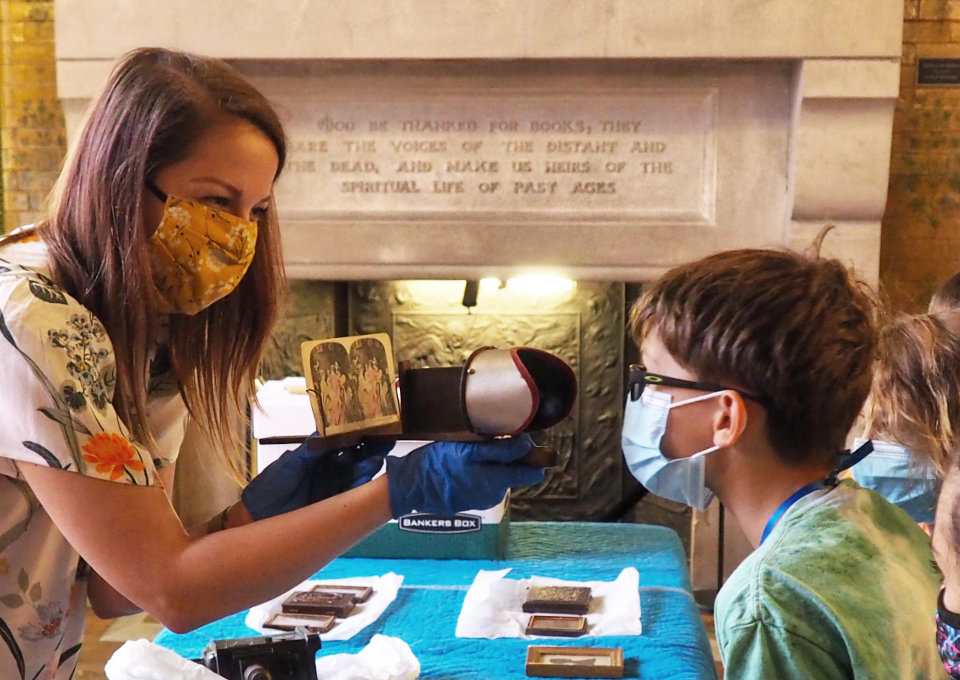
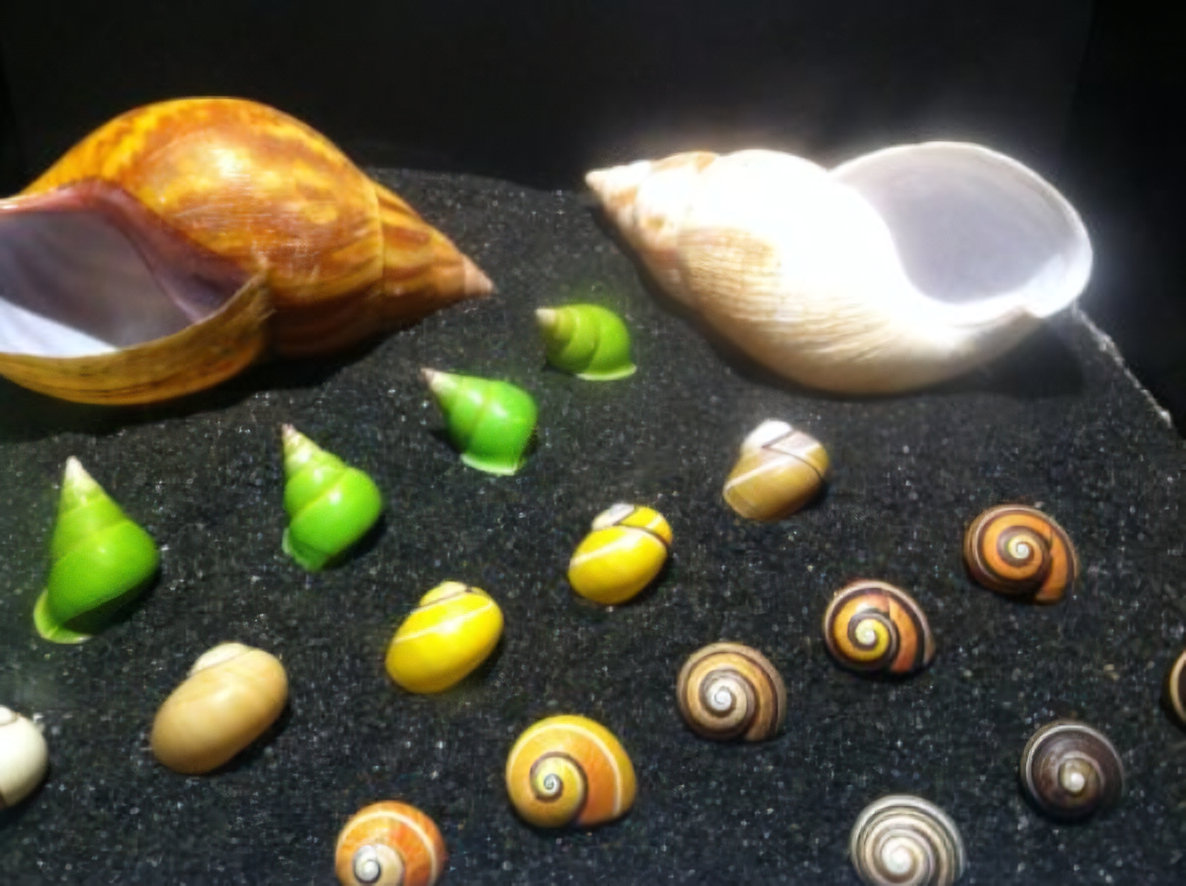
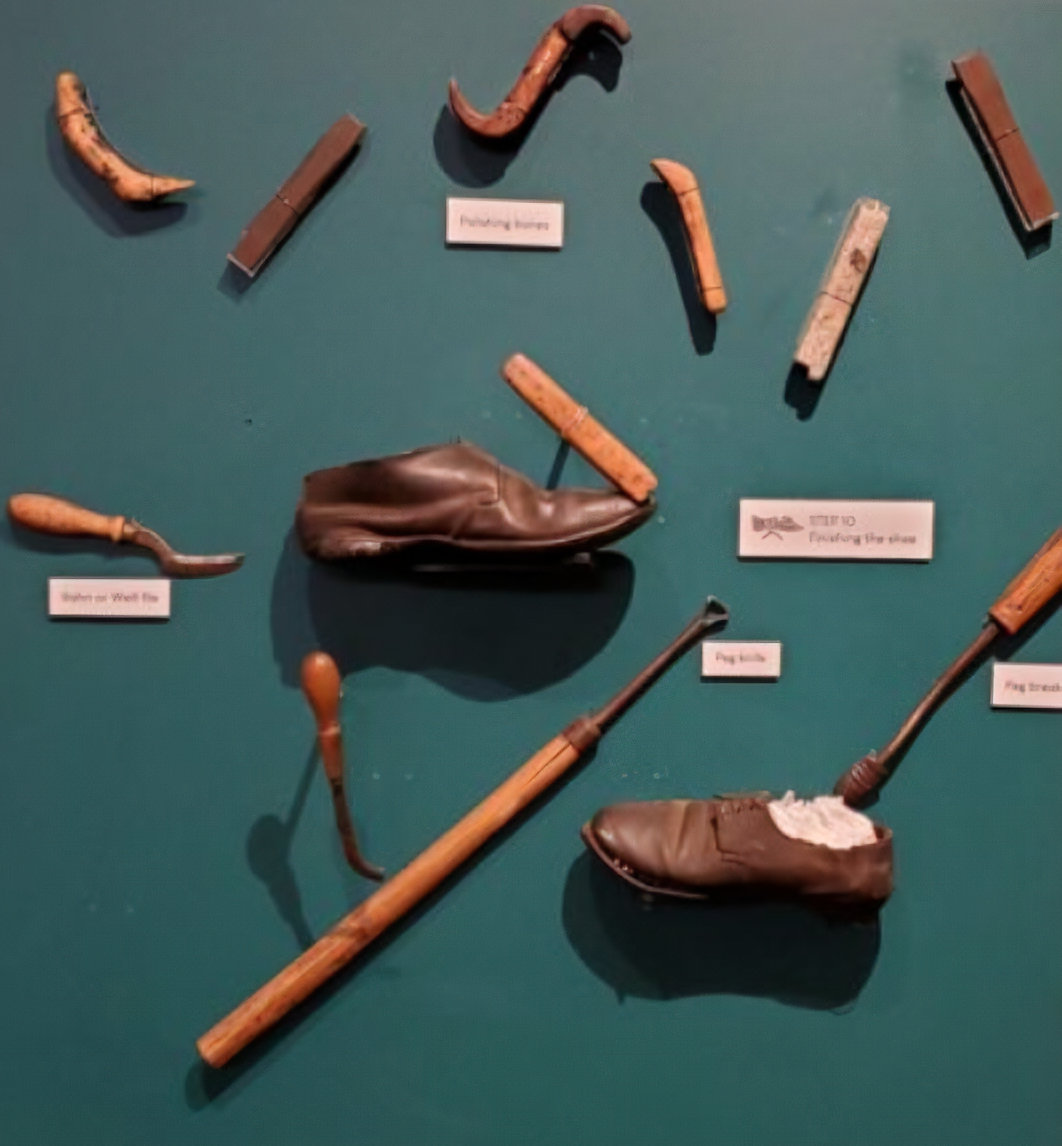
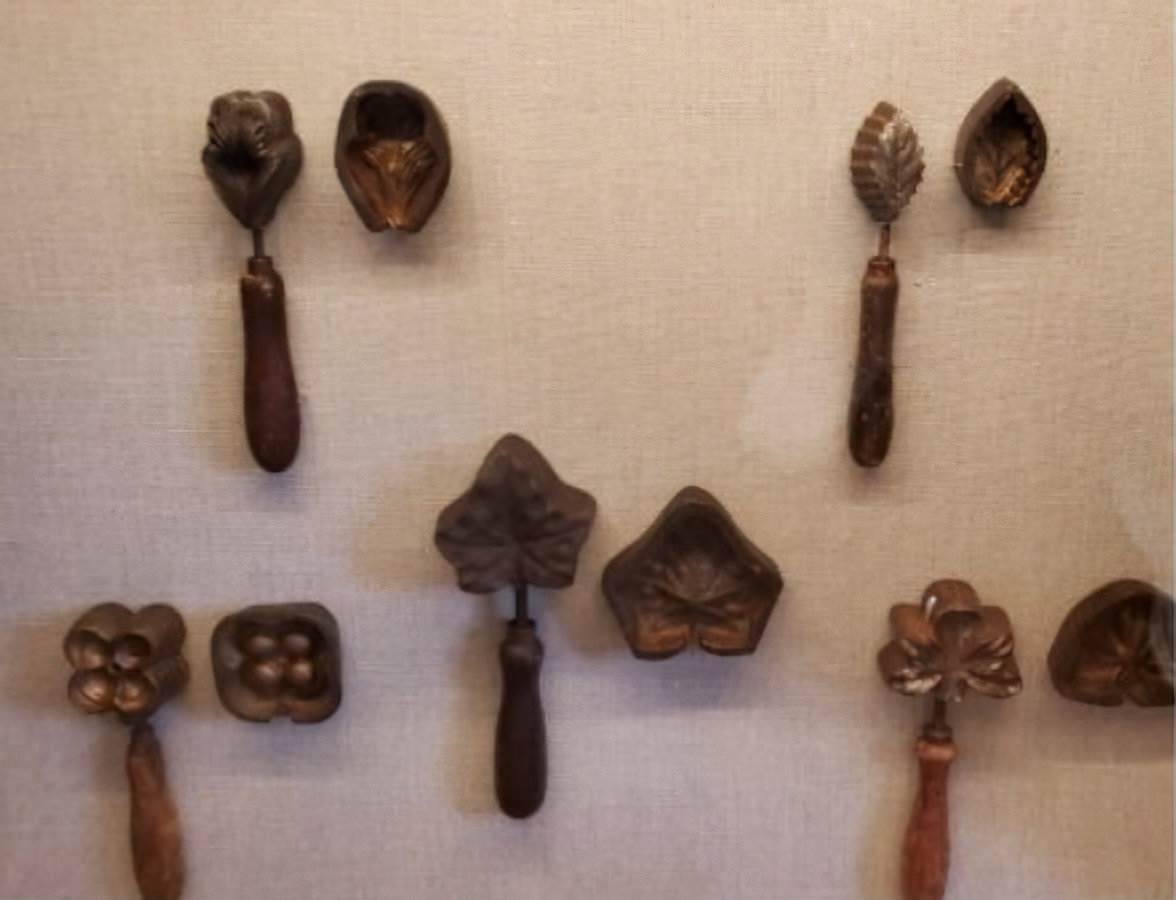
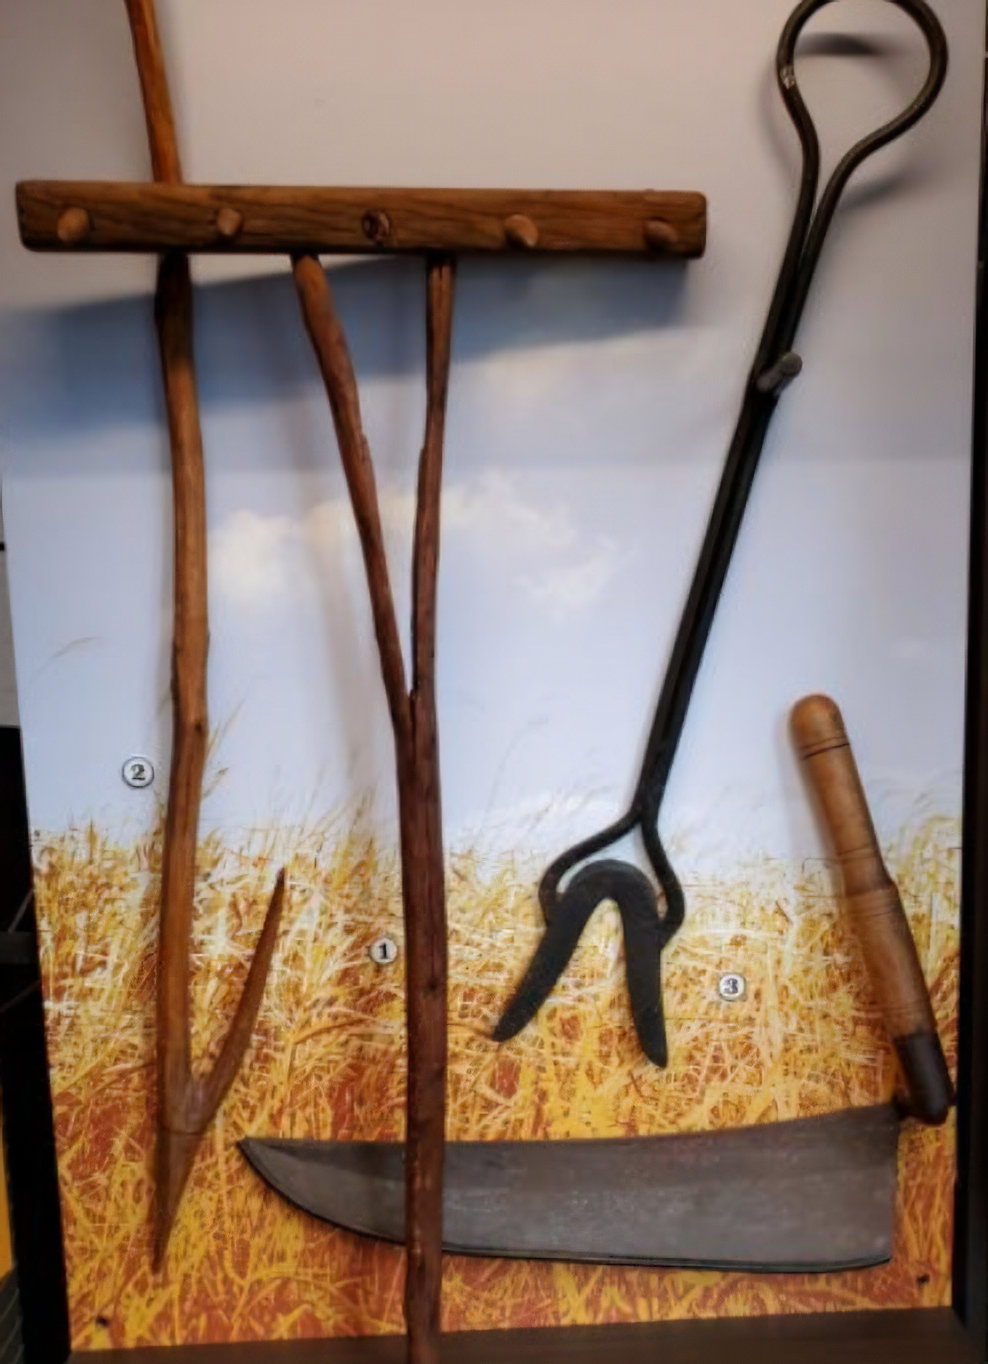
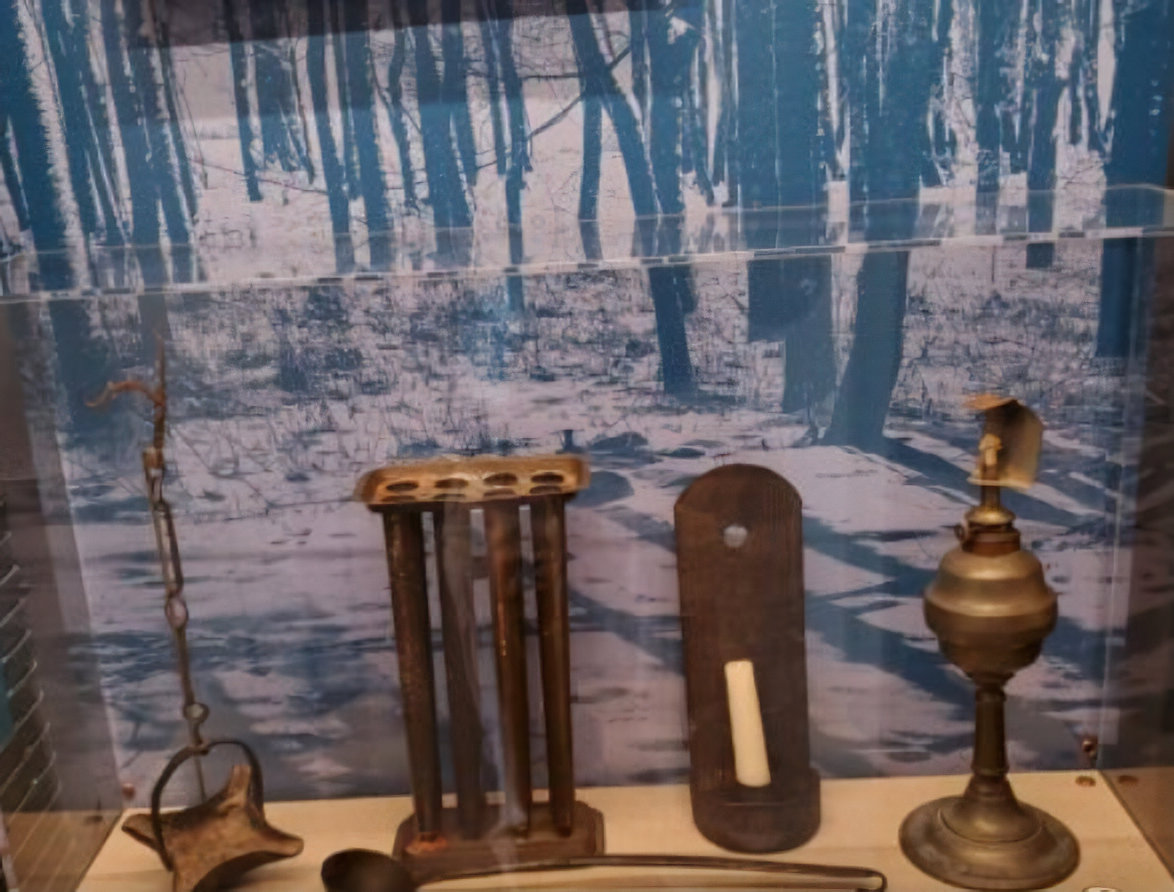
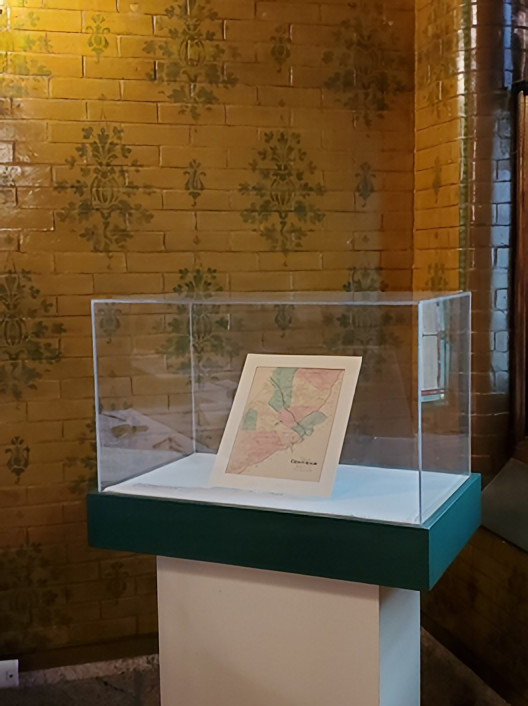
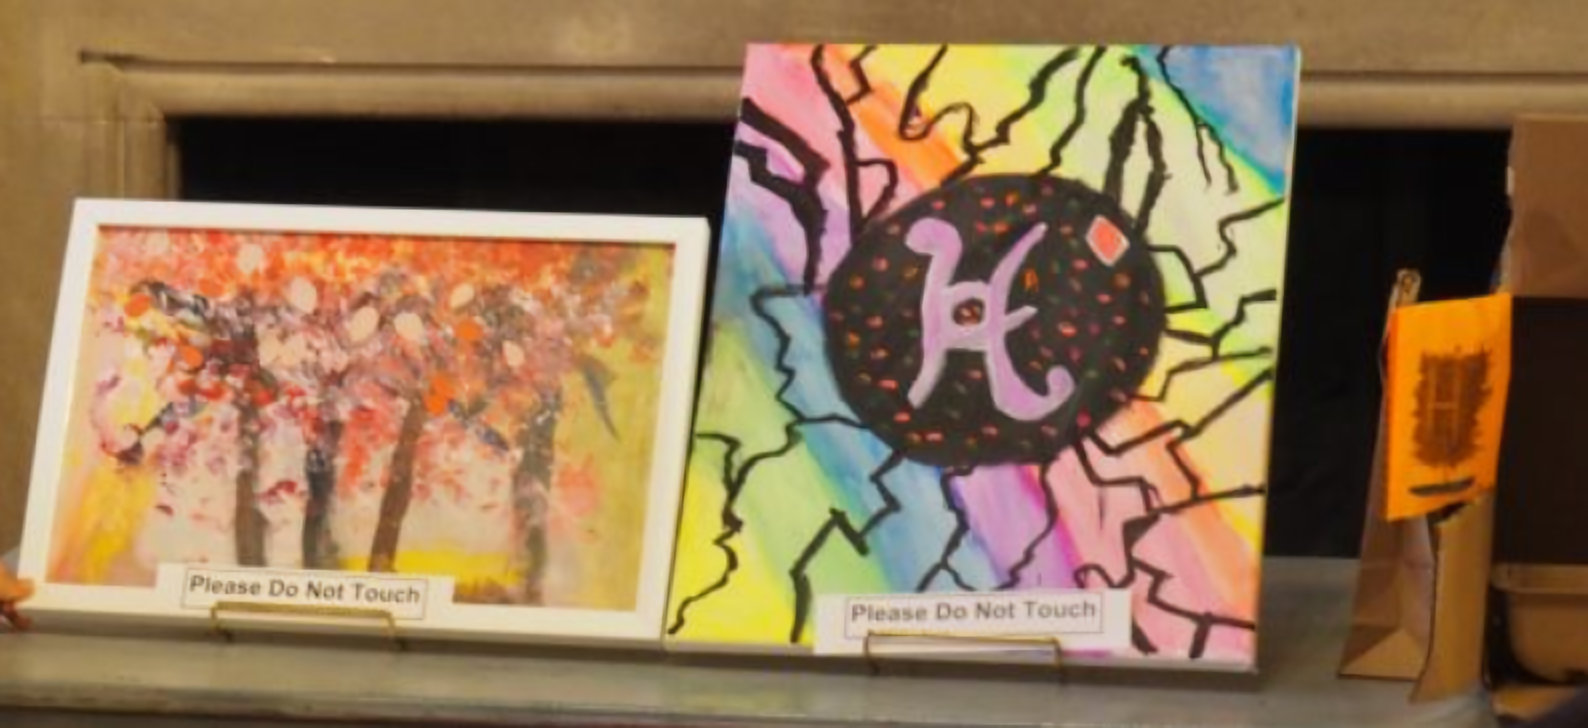
Here are some images of real exhibits to show you how artistic elements can enhance the display of a collection. Museums lay out exhibits in many different ways, depending on their goal. Are you trying to create something that just looks nice? Are you trying to catch people’s attention? Are you trying to educate your viewers? Are you trying to make a statement with your exhibit? What idea are you trying to convey with your exhibit? Think about these questions as you think about the kind of background you want for your exhibit.
Notice that some have the objects on just a plain, single-colored background while others have a more elaborate backdrop. These are just a few of the many ways you can add decorative elements to an exhibit.
Here are a few ideas of art projects you can do to decorate your exhibit, but feel free to express your creativity in other ways also.
Color one of these stained glass templates to go behind your objects
Draw or paint a picture related to the theme of your exhibit
Find some colorful paper (wrapping paper scraps can work well!) and make a collage with them: Glue them in a pattern (or randomly) onto a piece of paper, cardstock or cardboard
If you have any stencils, use them to decorate your background. METC has stencils on many of the walls, and so these often become the background for objects on exhibit.
Make etchings. Etchings are a design that is scratched or cut into a surface. You can do simple etchings at home:
Cover a piece of thick paper or cardstock with 1 color of paint or pastel. If you use pastel, be sure to make it a nice thick layer. Darker colors usually work best.
Take an unfolded paper clip or a plastic fork and scratch patterns in the color. Don’t push so hard you make a hole in the paper, but push hard enough so that your pattern or design shows up.
It works best if the paint is still a little wet, but you can do it after it dries also.
If you have an old sponge at home (no longer being used as a sponge), cut it up into little rectangles or other shapes. Then, get some paint and a piece of paper and use the sponge pieces as stamps.
Take a white coffee filter and scribble on it with washable marker. Fill it with as much color as you can, avoiding brown or black. Then, put your coffee filter on paper towels, a tray or a plate and spray it with water. If you don’t have a spray bottle, take a cup of water and sprinkle water on with your hands. Watch as the colors start to blend! Don’t get it too wet: Use just enough water so that the colors blend!
Let it dry – try putting it on some paper towels and lifting it up occasionally to keep all the colors from bleeding out
This can just be a colorful backdrop. Or, if you want the color to be in a shape you can either draw the shape on before you spray water (be sure to use a permanent marker!) or after it fully dries.
Now you have your collection, your exhibit text (the labels) and your background (the artwork). Now it is time to put together your exhibit.
First, pick where your exhibit is going to be. You should talk to your family about this to decide the best place. Ideally, the space will include a table or other flat surface on which you can set up your collection. You might consider an area with a wall behind it to make it easier to stand things upright.
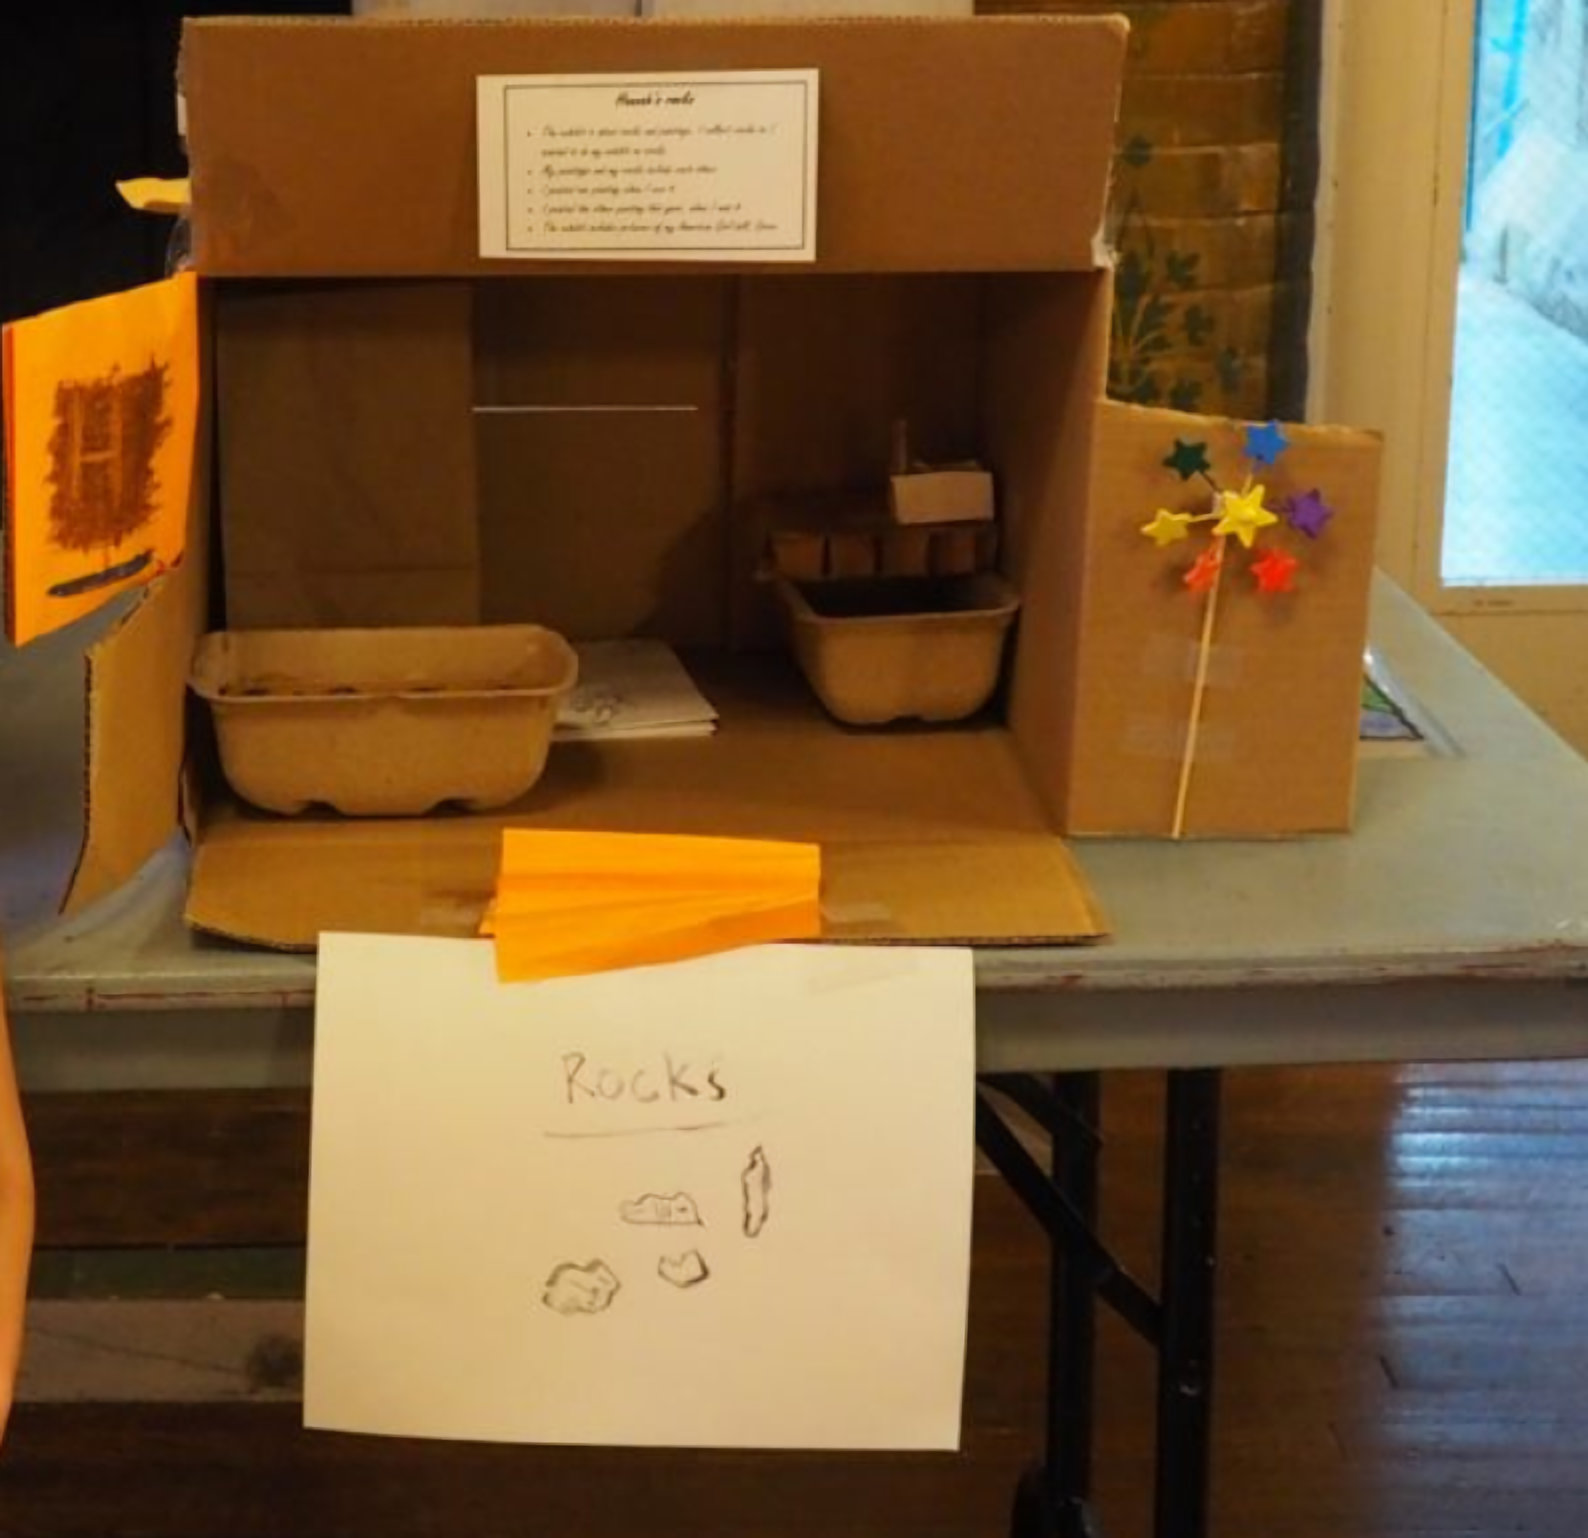
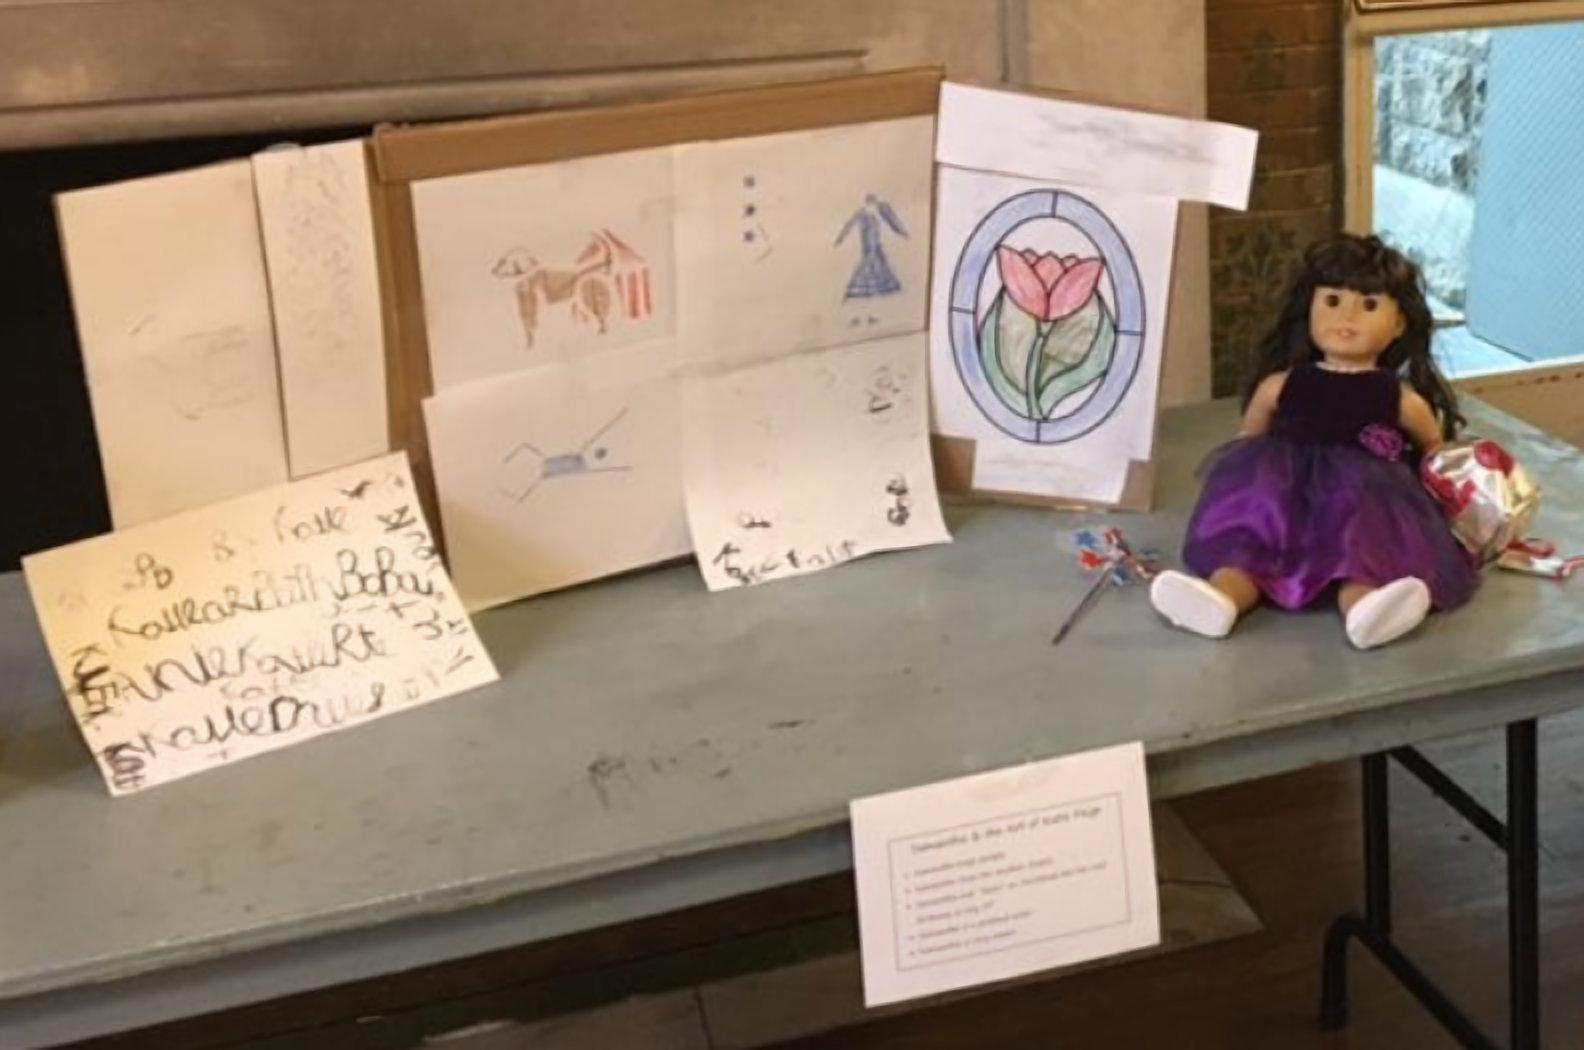
Then, decide how you want to set up your collection. Look back at the exhibit images in the previous section, this time focusing on how objects are laid out. Notice that there isn’t just a big pile of objects, but that they are laid out deliberately and in a specific way.
You may want to use cardboard or other materials you have around the house to create “walls” around your exhibit, as well as stands for your objects, especially if you want them at different levels or to stand up a certain way.
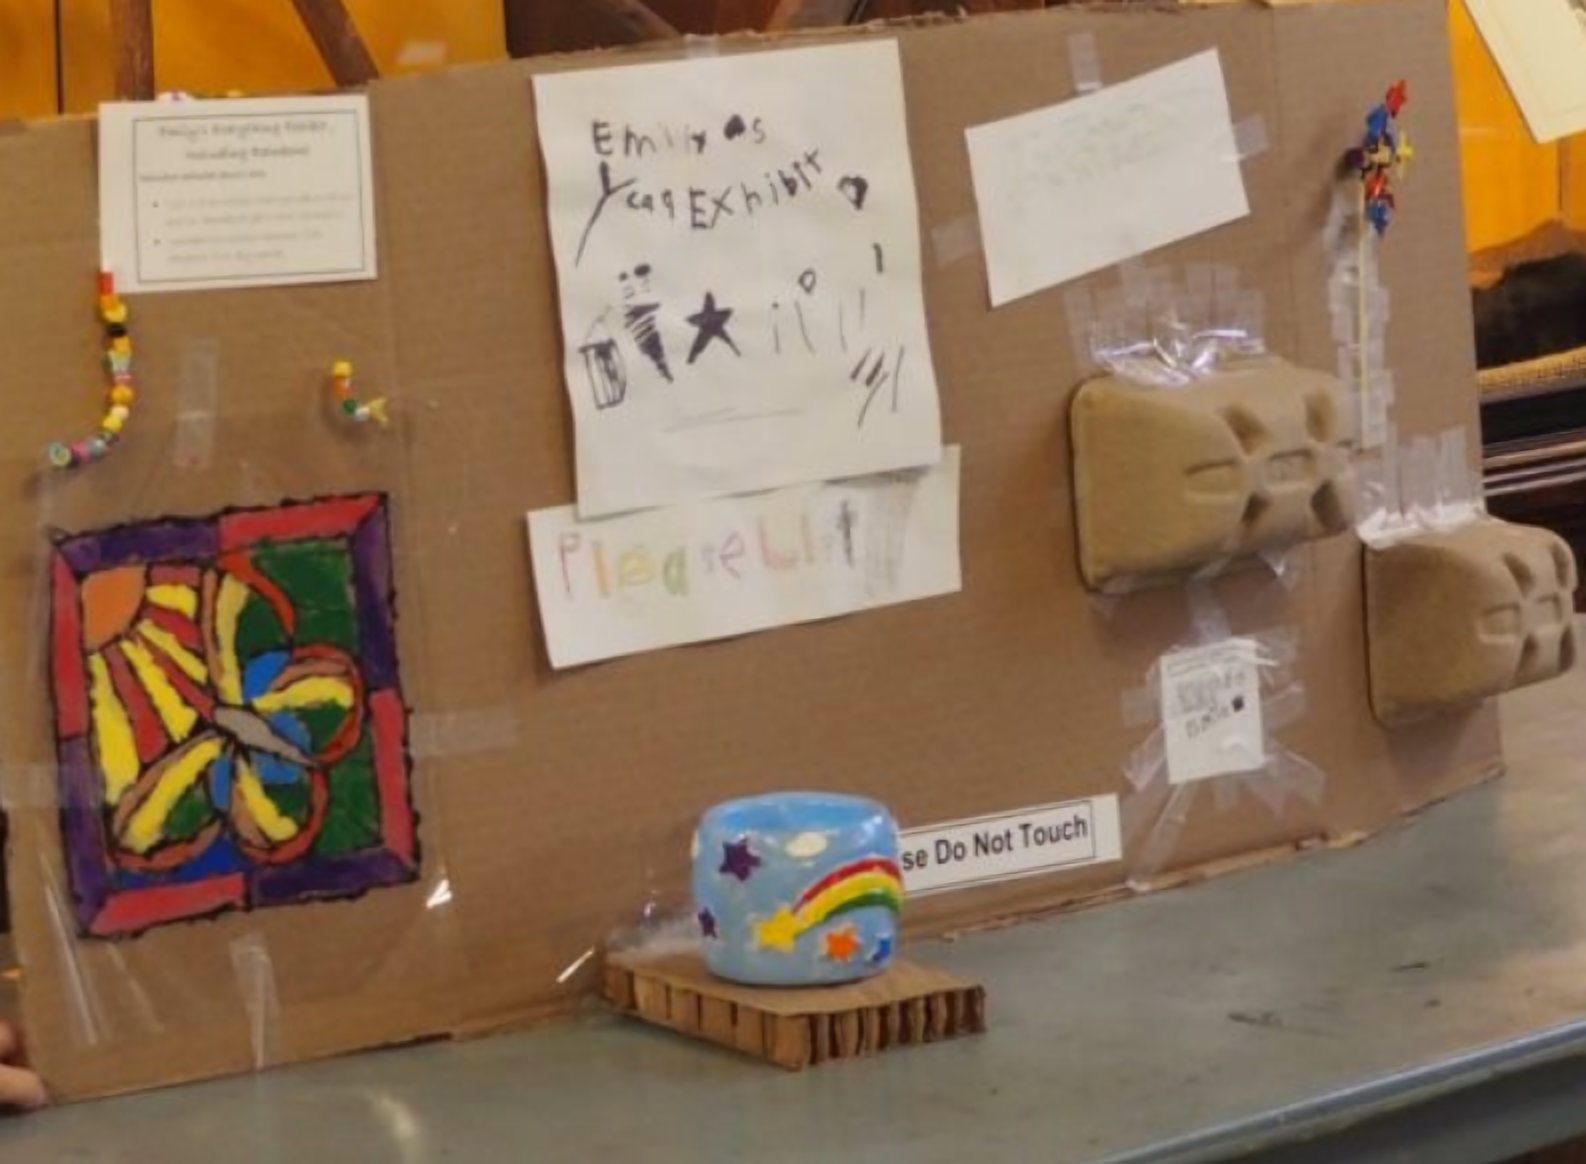
Here are some examples of exhibits other children have created to give you some ideas.
Part 5: Show off your exhibit!
Now that you have created your exhibit to display your collection, it’s time to have some visitors! Invite your family members to come see your exhibit and give them a tour. Be sure to point out the highlights of the collection and your favorite parts. Consider offering a special “behind-the-scenes” tour in which you explain your process of putting together the exhibit. Make sure you share with us too! Email your photos to [email protected] or share with us on social media by tagging us @metcnj!
Want to learn more about being a curator? Watch our Q&A with our Curator of Collections and Exhibits!